
The original recipe for this came from my mother-in-law, and makes some of the best country-style ribs ever. But the original recipe calls for peach baby food, which it seems like nobody carries anymore (or is that just a midwest thing?). Pre-primal, I’d use peach preserves, but that adds a whole lot of sugar to an already sweet sauce.
This time I used (thawed) frozen peach slices and made the sauce in my blender – and proceeded to forget that “two 6-oz jars of peach baby food” is not the same as 12 ounces of peaches by weight. Which meant adjusting proportions. On top of that, I wanted to see if I could get away with reducing the sugar. What I came up with is fruity, tangy, and oh-so-good with pork (probably other meats, too, but I can’t vouch for that yet). Baste your ribs with it while they’re cooking, or dip them in the raw sauce once they’re done, or both!
(Hmmm. Actually makes me wonder if you couldn’t make a good barbecue with applesauce….)
What all of this really means is that this is really more “inspired by” my MIL’s peach barbecue sauce. So, with apologies to her, here’s the breakdown:
Primalized Peach Barbecue Sauce
Servings:
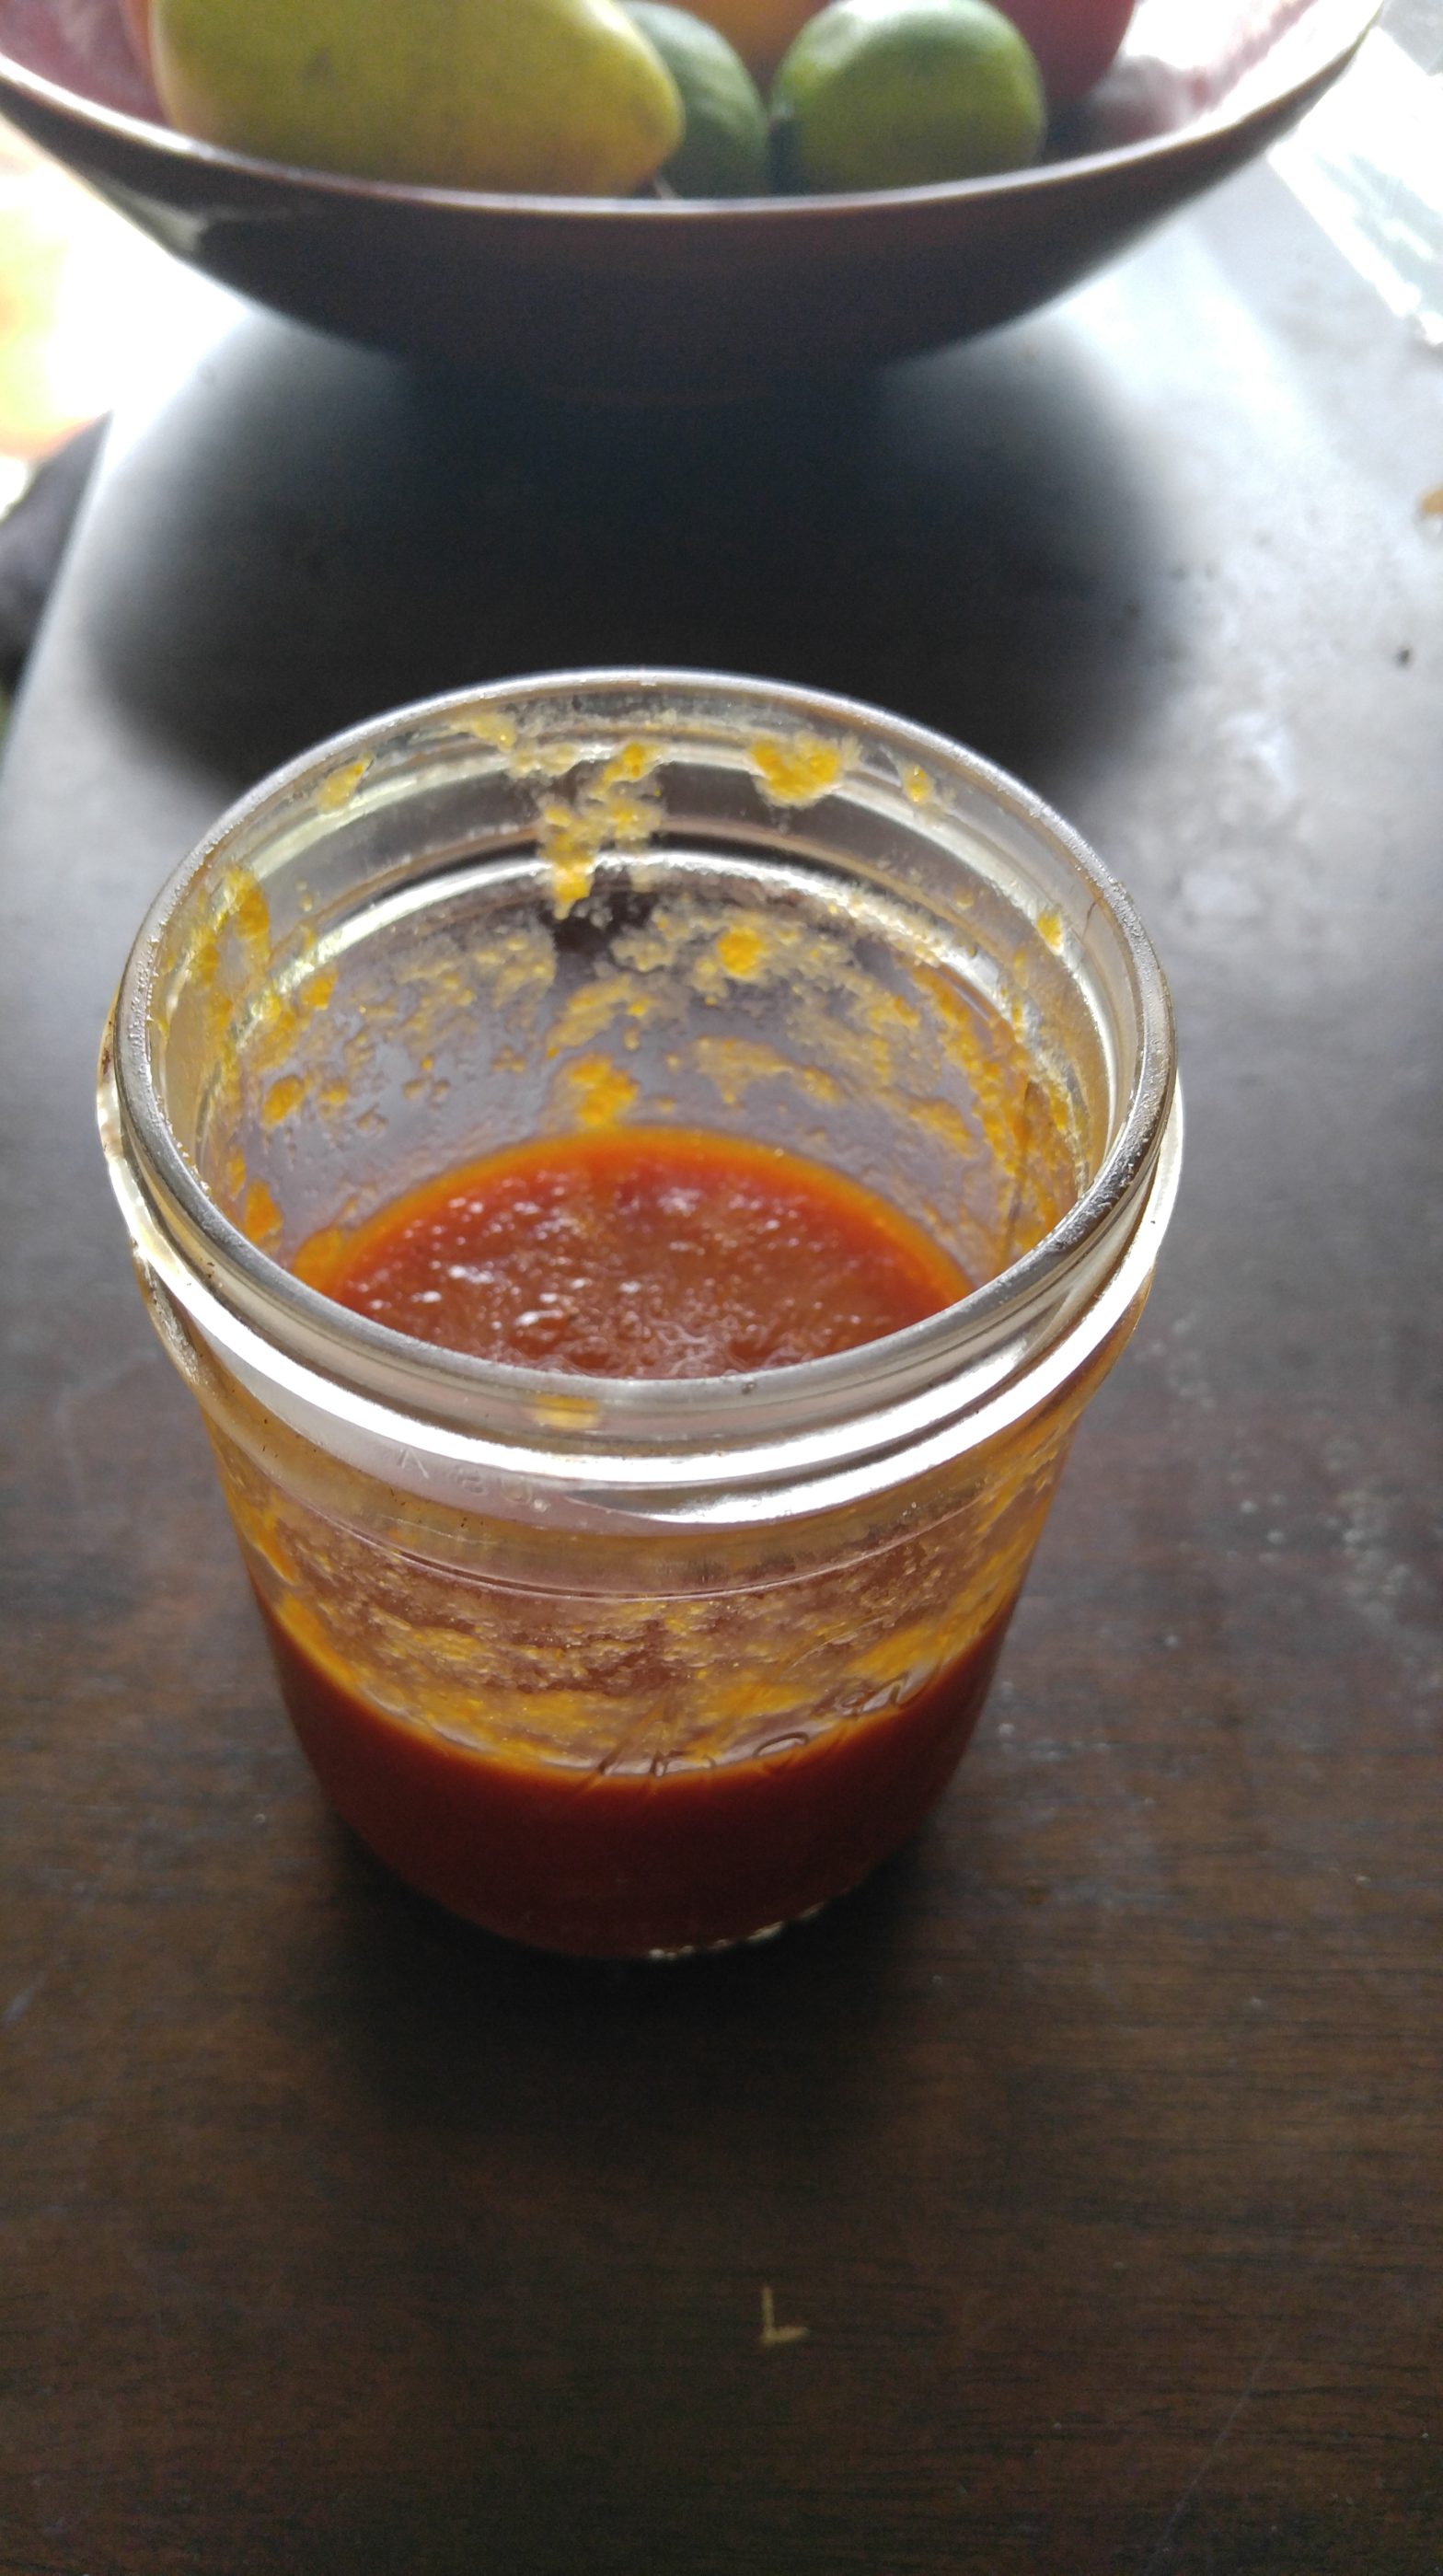
About 6 cups
Prep Time:
5 minutes
Cook Time:
n/a
Category:
Sauces
Ingredients
- 12 oz frozen peach slices, thawed
- 2/3 c ketchup (I use this, or you can make your own)
- 2/3 c apple cider vinegar
- 1/2 c coconut sugar
- 3 T tamari
- 1/2 t ground ginger
Directions
- Puree your thawed peach slices in the blender.
- Since your blender is already dirty, add the rest of the ingredients to the bowl and let it do the blending for you.
- Use as you ordinarily would.
Notes
This can be made ahead by at least one day. The flavors will deepen overnight in the refrigerator.